Monday, February 27, 2012

Refrigerator Face Lift- CHALKBOARD PAINT!

I thought up this idea when I was pretty tired of covering up my refrigerator with the everyday bills, coupons and random other items of nonsense- Just to mask the ugly fridge beneath.
The fridge works great and I am no fan of throwing something out that is not broken. So I gave it a much needed face lift. Plus the best part is that it is a great place for my son to draw and display his school projects!

If your going to do this, be sure to score the surface with Scotch brite. That way the chalkboard paint will adhere to the fridge's slick surface. Apply 3 coats of paint, waiting 3-4 hours in between. Lastly, once the fridge is dry- wait 3 days before drawing with chalk.


Finished!


After the first coat of paint
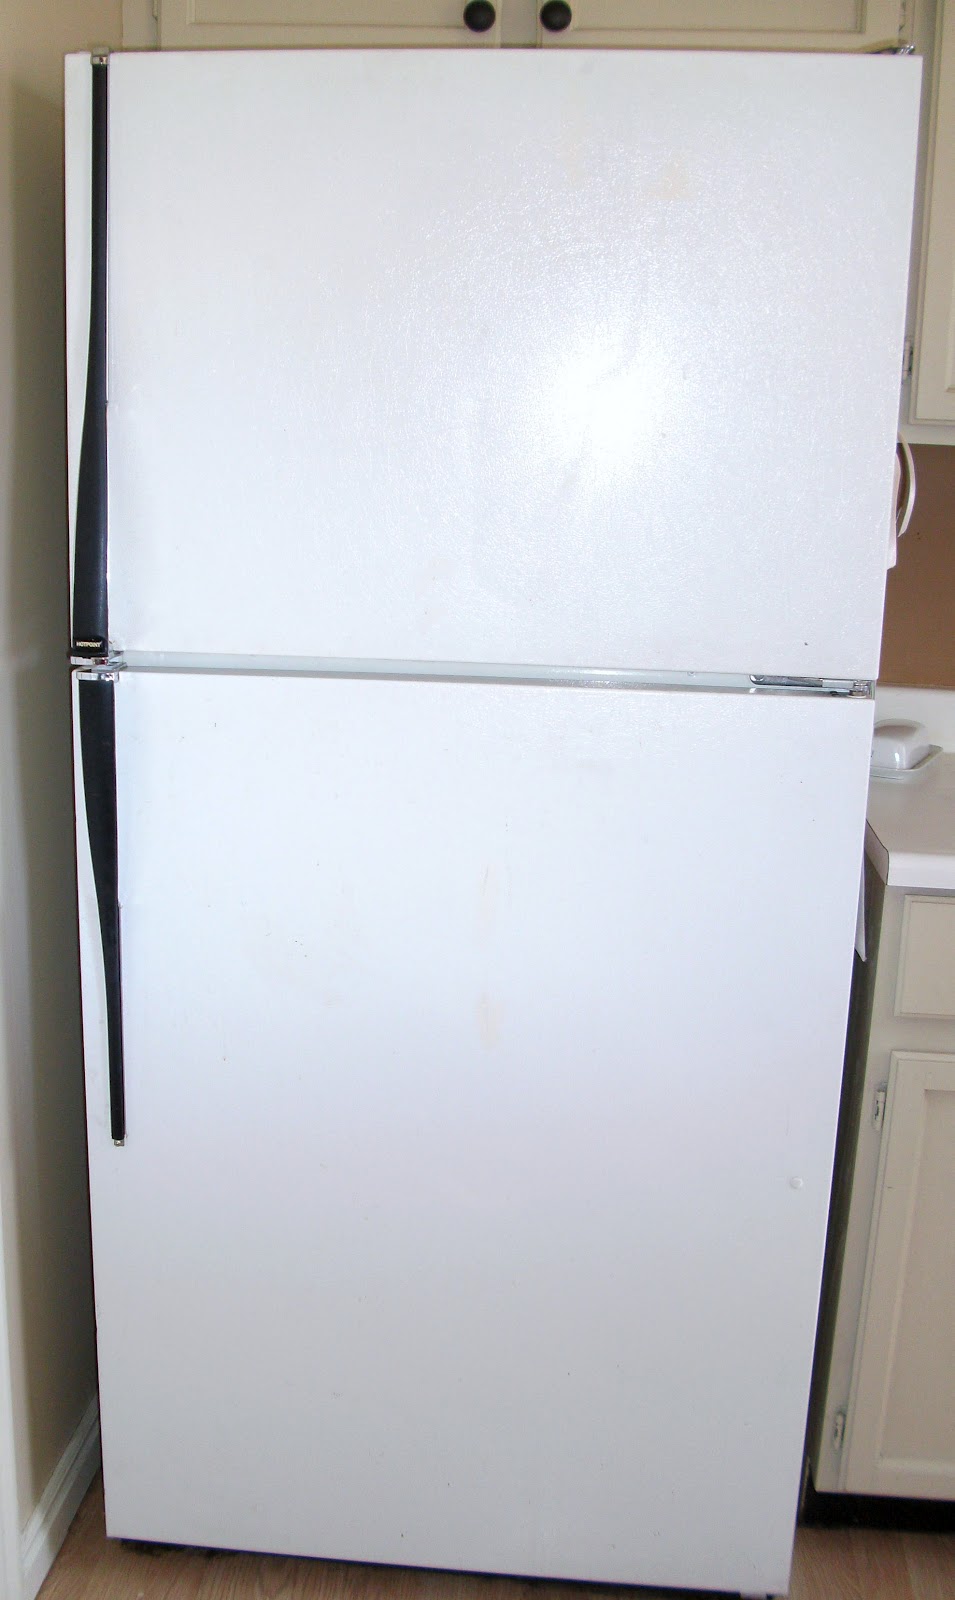

Before...

Saturday, February 18, 2012

It's time to spice things up and shine on!

I just had to show you some of the amazing transformations Sink or Swim has done lately. All of these pictures feature a once old, faded and boring item that has been transformed and given new life with a bit of love and alot of automotive paint!

First is a front door that was once a matte white, now it is a glossy, reflective cherry red. Come on now, shouldn't your front door reflect your Real Style? If you agree, we can certainly help you out with spicing things up! We'd love to help you out!


...and some matching shutters...

This old faded basketball hoop was repainted in Lakers colors and is definetly a one of a kind! The possibilities are endless and it sure saves on replacing your old one with an expensive new backboard.


Motorcycle tanks to cars and pretty much anything paint will adhear to, it can be reborn. The tank featured here has a silver base coat, silver metal flake and covered with a yellow-gold candy finish. Purdy! It is actually for sale if you want it.


Most of all we want to show you what is possible and to hopefully inspire you to Shine On.
 Express yourself, be loud and be your true authentic self!

Xo your friends at Sink Or Swim; Beautifully bold restoration!

Weekend project: Dining room Re-Do!

This was the easiest and most impactful project I think we have done so far. This entire project costs us under $60.00 and it was so worth it!

We first removed the existing baseboard and repaired the wall of any holes or damage. Next we painted the bottom half with ultra white satin paint, up to the tape line we made 6ft up the wall. It is very important to use a "smooth" roller, since you want to create the illusion of a wood plank. The top half was painted with a deep red to create a high contrast that will be a great focal point to the room.

In the meantime, paint the  wood beams with a mini smooth roller. The vertical beams we used were 6ft x 1 1/2in x 1/2in. that we cut to 5ft 8in. in length. We used two 10ft x 2in x 1/2in. pieces for the base board and top panel.

We attached the beams with liquid nails, followed by a few small metal nails. The vertical beams were hung 19in. apart, though this can vary depending upon the look you are going for.

Seal the seams with silicone and putty the holes. Follow with a bit of touch up paint and you have a pretty, wood paneled wall for cheap! Good job you!

The chandelier was outdated and brass. With a few coats of flat black spay paint and a handmade chain cover (which was constructed out of some old pants I never wear anymore). Its pretty easy and only took us 2 days to complete it, start to finish!


AFTER


BEFORE


Refinished chandelier


Feathers & Frames!

As far back as I can remember I have had a love affair with paint. I used to be limited to the basics of spray paint and craft store brush on products. Though since my hubby Chad has come into the picture, my life has never been the same! A bit of background here; Chad has been an automotive painter for 16 years now. He shares in my passion for re-beautifying what was once old. So back to the life changing event. Well he takes the frames that I pick up from second hand thrift stores, garage sales or wherever one begs to go home with me and paints them with glossy automotive paint. This creates a finish like no other. The only complaint I have is that it is so glossy that it is very difficult to photograph without some intense glare.

Once they are dried, I glue and layer multiple frames together to create a real neat artistic look. Top it off with a few feathers and an antique broach. TADA!


We have so many more that I have not shown here. If you are interested in purchasing one, just let me know. They sure are pretty!

ROBOTS Attack!

When we found out that we were expecting a baby boy, we needed to come up with a super cute nursery theme. Why dont we make it Robots & Monsters? (The cute, sweet kind of course!) So Chad, the darling dad that he is went to work on making a one of a kind lamp to put upon the babies dresser.

This little robot lamp was constructed out of misc. items found in our garage. So many things can be used to create a robot, so have fun finding items that you already have around your home. The electrical aspect of the lamp was purchased all constructed and the robot was wired to the lamp base.

His head is made from a cleaned-out oil can. The eyes are fluid caps from a paint gun and his torso is metal cup.

The legs and neck are made from old bicycle parts. We removed the seat and the springs created super cute and comical legs. We added a heart for love!


Redneck wineglasses: For the sophisticated tailgater!

Stay classy tailgaters!


Oh my gosh these are so funny! This idea started when I went to a girlfriends house and she was drinking her wine from a glass similar to these. I fell in love! She recieved them as a white elephant Christmas gift. I knew then that I had to make some and see what other flare and pizzaz I could come up with.
The Utes tailgating wineglasses where created for some family friends that are huge University of Utah tailgaters/ fans. I made a few vinyl stickers and added little red and white beads to the empty space in which the candle stick would have gone.


These are the smaller mason jars. I liked the diamond print that seemed to add a bit of elegance to our glasses. My mother prefers these over the larger, bulkier jar.

Adding the colored beads works in place of a wine charm.


If you are not so excited about making these yourself,
I do sell them.
Since they are a custom product, just let me know what exactly you want and I will make it happen!

The amazing treehouse!

Last summer my little boy had requested that a treehouse be built for his birthday present. Being that we are always down for an adventure in creating, we agreed. Now this was a hefty task for just Chad and I to take on alone, we once again called up our handy dandy favorite contractor, Scott Dipo to help us out. The project took a few days, but it sure was worth it! May I recommend Restore Deck Liquid Armor Resurfacer to paint the exterior and floors of the treehouse. It covers like stucco and keeps out water from seaping into the wood. It was a great find and costs equal to regular exterior paint. It will require a special roller, so be sure to pick one up when your at the store.

The greatest part of all was the addition to the green slide. Chad had found an old swimming pool slide in a dumpster pile. Being old and faded he patched it up and coated it with a glossy green coat of automotive paint and Voila- Perfect! Get out there and be adventurous!

Under construction:

Finished!


Let's get this party started!

Good day everyone. We have been so busy it seems lately that I will have so much to show you and tell you about. I am so excited about it. Last September we welcomed our new addition, Relik, into the world- what a joy! So just to warn you, my posts may be extremely post dated and somewhat scattered. Oh well it is fun anyway! Enjoy and let me know what you think!